Everybody likes chicken fingers. Kids like them. I like them. Ismail likes them. The guy who comes by every two weeks to do our ironing likes them (he didn’t tell me but I know he does). Nobody could say no to a basketful of hot, golden, crispy and succulent fried chicken, in any form. With fries on the side. And lots of ketchup. *Sigh*.
True to form, I bake my homemade version in an attempt to keep down the fat factor, but sadly that ends up affecting the yum and crunch factors as well. So I started playing around with various coatings. Everyday breadcrumbs? Too soggy. Crushed cornflakes? Can break a tooth when they get cold. Flour? Not very bakeable.
Then I discovered this cool recipe. That really, really great person suggested using crushed melba toast to coat the chicken. So I did. And continue to do. And it’s deliciously, crunchily perfect in every way.
Ingredients:
1 pound chicken, sliced into “fingers”
I package plain melba toast (white or whole-wheat)
1 Tablespoon Italian seasoning
1 teaspoon garlic powder
1 teaspoon onion powder
1 ½ teaspoon black pepper
1 teaspoon sugar
½ Tablespoon salt
1 egg
¾ cup milk
1 Tablespoon flour
Oil
Directions:
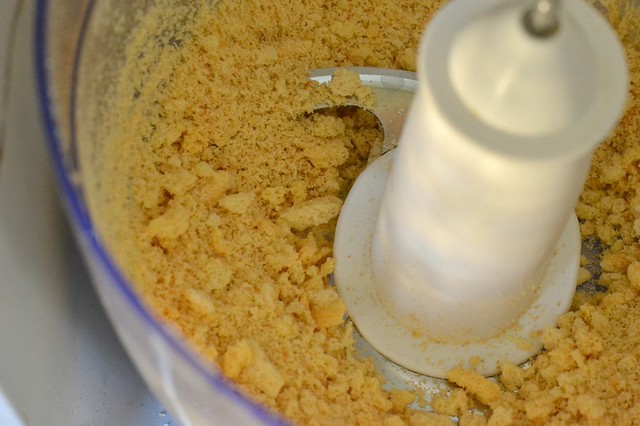
The first part’s the fun part. Give the melba toast a whiz in the food processor.

Don’t make it too fine or you’ll just find yourself with plain old breadcrumbs. Leave some larger bits in there.
Add the spices.
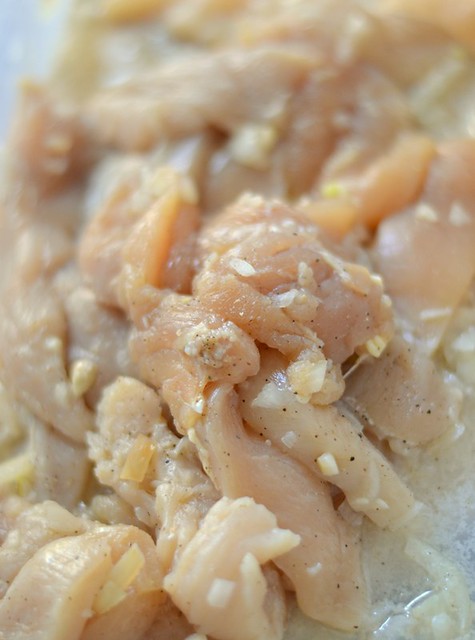
Get your chicken ready. I seasoned mine to intensify the flavour.
Put the milk, flour and egg in a bowl. I added a dash of black pepper in there too.

You’re ready. Start by dipping a chicken finger in the eggy milky floury batter.
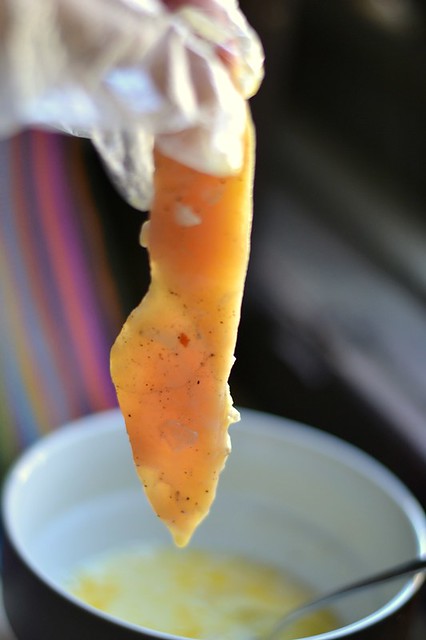
That was me with the plastic gloves. I’m not a big fan of slime.
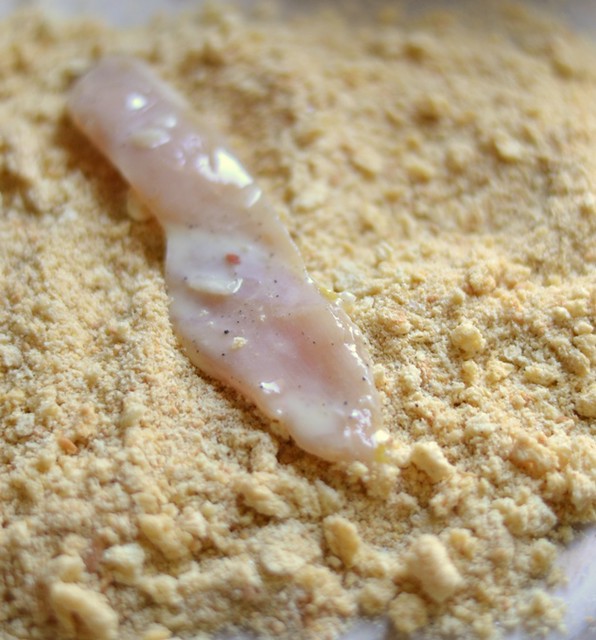
Now shake off the excess wetness and coat it well with crumbs. Press on it and make sure it’s totally covered.

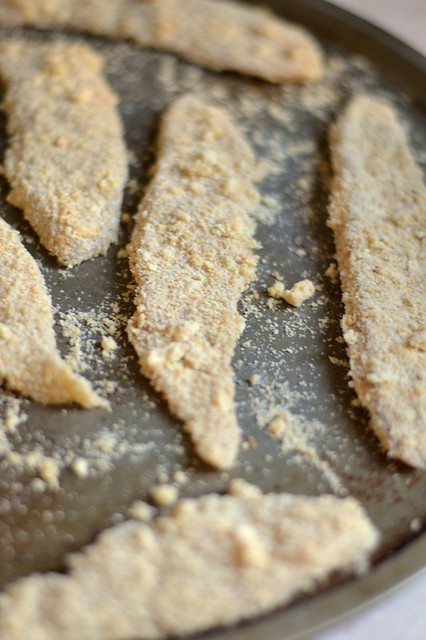
At this point you can do one of two things; you could arrange the chicken fingers on a baking sheet and bake them, or you could arrange the chicken fingers on a baking sheet and freeze them overnight, pack them in a freezer bag and save them for a day on which you’re craving chicken fingers but have less than no desire to mess around with raw eggs and melba toast.

Spray with oil.
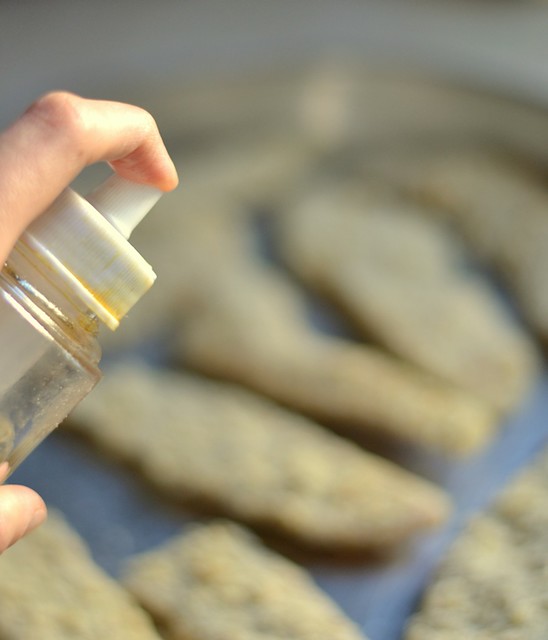
Bake at 200 degrees Celsius until they’re golden brown. Keep an eye on them because they don’t take long.
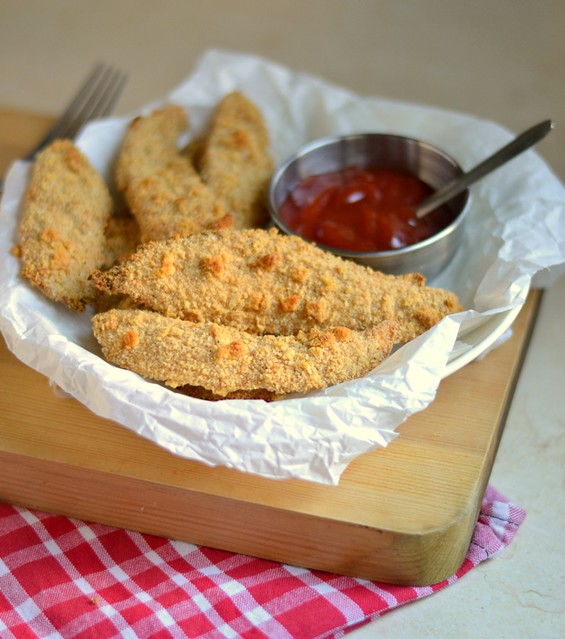
Look at that.

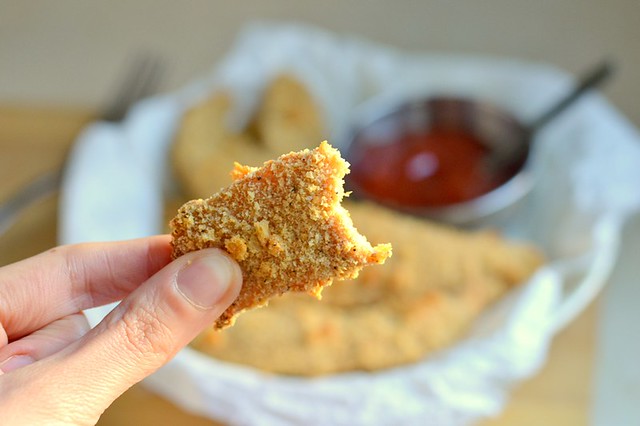
Baked Chicken Fingers

- 1 pound chicken (sliced into “fingers”)
- I package plain melba toast (white or whole-wheat)
- 1 Tablespoon Italian seasoning
- 1 teaspoon garlic powder
- 1 teaspoon onion powder
- 1 ½ teaspoon black pepper
- 1 teaspoon sugar
- ½ Tablespoon salt
- 1 egg
- ¾ cup milk
- 1 Tablespoon flour
- Oil
- The first part’s the fun part. Give the melba toast a whiz in the food processor.
- Don’t make it too fine or you’ll just find yourself with plain old breadcrumbs. Leave some larger bits in there.
- Add the spices.
- Get your chicken ready. I seasoned mine to intensify the flavour.
- Put the milk, flour and egg in a bowl. I added a dash of black pepper in there too.
- You’re ready. Start by dipping a chicken finger in the eggy milky floury batter.
- That was me with the plastic gloves. I’m not a big fan of slime.
- Now shake off the excess wetness and coat it well with crumbs. Press on it and make sure it’s totally covered.
- At this point you can do one of two things; you could arrange the chicken fingers on a baking sheet and bake them, or you could arrange the chicken fingers on a baking sheet and freeze them overnight, pack them in a freezer bag and save them for a day on which you’re craving chicken fingers but have less than no desire to mess around with raw eggs and melba toast.
- Spray with oil.
- Bake at 200 degrees Celsius until they’re golden brown. Keep an eye on them because they don’t take long.